How To Polish Turntable Cover? A Step-By-Step Guide For Newbies
 Piers Anthony
- 05 Jul 2022 09:25
- 1325
A turntable is indispensable if you love music and invests in music devices. This device will give you a great audio experience, unlike traditional transmitters.
However, the turntable can be dirt when operating. So how to polish turntable cover? Let's find out in the article below!
The Turntable Cover Materials Overview
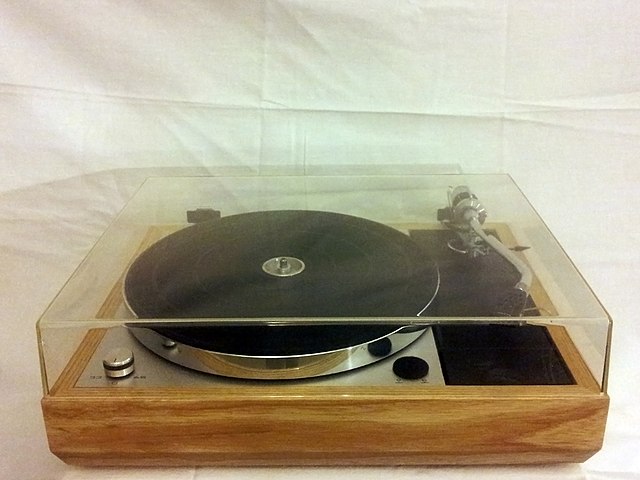
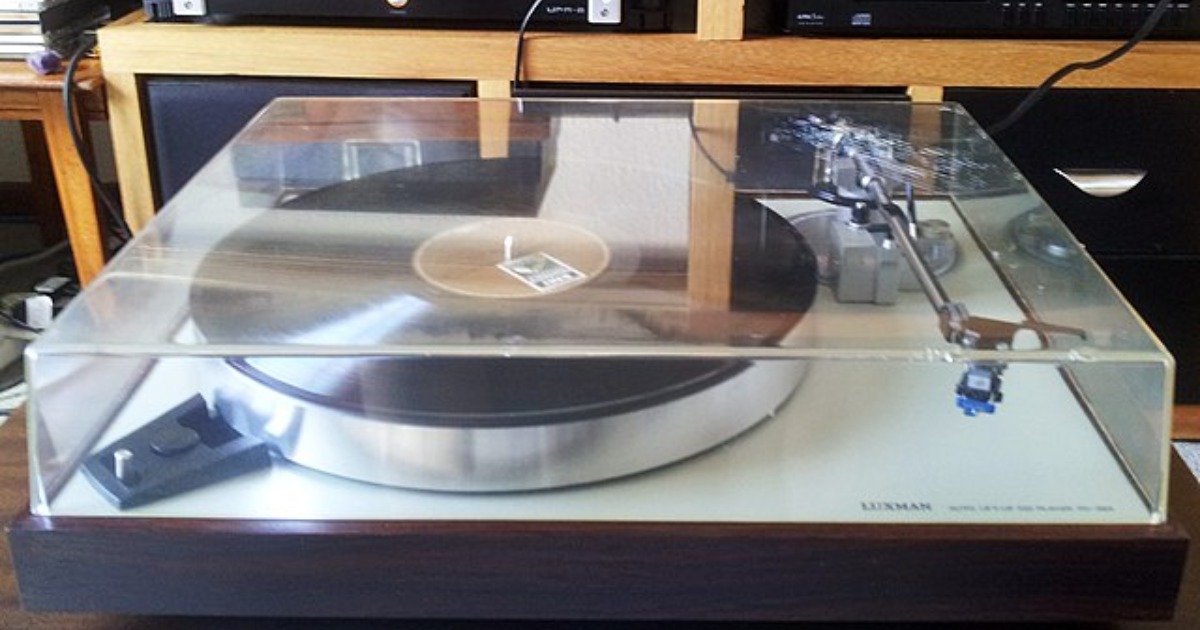
A turntable cover can be considered a valuable tool to help shelter and protect the turntable. People will choose explicit plastic material.
This material ensures aesthetics, helps you see inside, and provides water resistance or easy cleaning.
So, is it possible to use a cloth to cover it? The answer would be no because this material is not waterproof and cannot guarantee protection.
Other turntable cover materials can be glass, acrylic, and nylon. Their common point is that they are transparent and can provide maximum protection for the instrument from impact, dirt, water, or moisture.
How To Polish Turntable Cover?
Using a cover protects the turntable from external influences such as climate and environment.
In addition, the turntable cover gives you a sense of convenience because you can open the lid and use the camcorder whenever you want. To clean this device, you can refer to the following steps.
Move the dust out
First, to start cleaning the dust covers, you need to disassemble them and bring them out of the gramophone area.
If you are too familiar with cleaning work, skip this step. A lot of disassembly and installation can lead to broken hinges and a loose connection to the vocal cooler.
However, if you are not too proficient, it is recommended to disassemble to prevent dirt or water from entering.
Mix the Mixture
You need a cleaning solution mixed in the correct ratio.
Prepare the following items for this cleaning solution: dishwashing liquid and warm water. You also need a few other polishing tools, such as a cloth to clean.
A perfect cleaning mixture will include 2 cups of warm water and about 1/4 teaspoon of dishwashing liquid.
In my opinion, you can go in the phase ratio to get the most reasonable. If it is too liquid, the solution is not strong enough to clean up dirt and bacteria.
Meanwhile, using too much dishwashing liquid will create a lot of foam and viscosity, making it challenging to obliterate chemicals.
Even some materials can corrode and affect the quality of the cover.
Microfibre Cloth
Once you have an excellent mixture of cleaning solutions, you can use a soft microfiber cloth and soak it with the above mentioned solution.
It allows you to ensure that the cleaning solution is in the cloth, ready to clean.
However, before wiping, you should squeeze out the water and leave only the cloth damp enough but no longer dripping.
If you do not remove the shield from the player, this may cause water to enter and damage the player.
Therefore, we still recommend that you remove the protective plate to ensure the safety of the camcorder.
Wipe combat
Although we have recommended that you choose a soft cloth for cleaning, you should also pay attention to the force of your hands when cleaning.
Attempting to apply excessive force may cause the visor to deform or crack.
The cloth you use can be wiped on the shields inside and outside. However, experts recommend brushing from the inside first because there will be less dirt.
If you tap from the outside, the inside area may get dirty or scratched on the towel. In addition, you should also rewash the towel after wiping each area.
Clean off everything
After using the dishwashing liquid to clean, you need to wipe it again, check and ensure that the slots do not have dust or residue left on the protective plate.
Once you're sure of the shine, prepare another clean cloth and a basin of clean, soap-free warm water.
Next, use a fresh cloth and warm water to wipe down the entire screen, removing any remaining soap.
This re-cleaning with warm water may have to be repeated up to 3-4 times to ensure the removal of the soap from the screen's surface.
Polish the cover
Going to the above step can be considered completing the Turntable Cover cleaning process. However, if you want to increase the aesthetics of the shield, this additional polishing step is required.
To perform this step, you must prepare a specialized plastic polishing solution.
Use another cloth, dip it in the polishing solution and wipe it once more over the entire surface of the shield. Once completed, you will be surprised with the results because they will look as shiny as when they were new.
FAQs
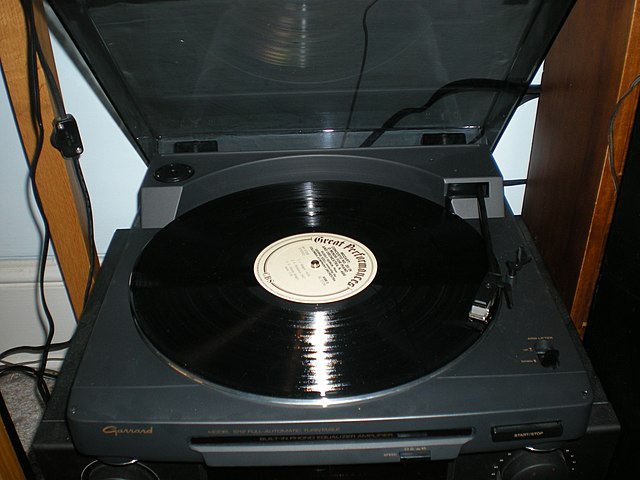
Should you leave a record on the turntable with a dust cover?
In many movies, you can see people leave the disc in the player.
However, if you leave the disc on the record player when not in use, even with the shield on, it can still scratch the disc.
Dirt or impact can damage the disc surface, in mild cases, cause interference during playback. More substantial impacts can shatter the disc.
Does vinyl go bad?
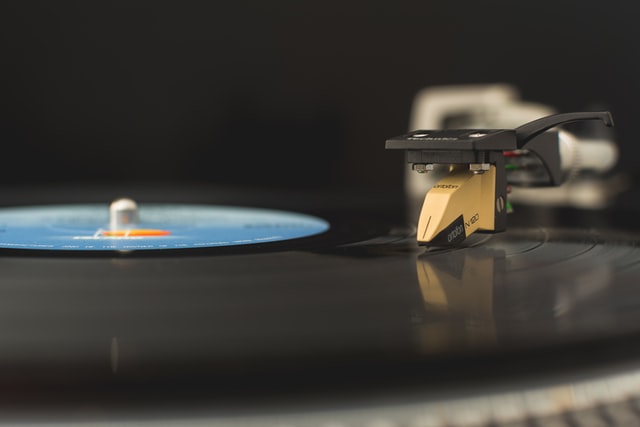
Any material that claims to be permanent will affect and rust over time.
Vinyl is relatively stable under normal conditions. However, vinyl can deform, warp, and warp when exposed to high temperatures.
In cold weather, cracking or static electricity will appear.
Which lasts longer: CD or vinyl?
We can look at the cost to speculate the answer to this question. As expected, vinyl costs more, so the quality will be good and more durable.
Both vinyl and CDs scratch easily. However, with CDs, it will drop out and have problems while playing. Meanwhile, vinyl can still find ways to repair and ensure sound when playing.
Conclusion
In the above article, we showed you how to polish the turntable cover.
Not only with step-by-step details, but we also show you a few notes during the cleaning process so as not to affect the quality of the product.
If you find the helpful article, save it and share it with more people to know.
By, Piers AnthonyPiers Anthony is a freelance writer and computer expert who enjoys helping others get the most out of their technology. He has written extensively about laptops, soundbars, and other computer-related topics, and he currently serves as the editor of The Audio Insights website. When he's not writing or tinkering with his gadgets, Piers can be found spending time with his wife and family.